Monday, December 30, 2013

drawing with the kids.

I love to draw. When our school breaks roll around, I tend to get some larger projects done. This past year I completed a series of 20 mid century architecture drawings over spring and summer breaks.

We recently got a vintage trailer to use as an art studio in the backyard. This past week I started collaborating with my kids on some drawings. They each add a few things of their choosing and then I come in and mess it all up;)

3 done so far. I'd love to get a series of 10 done in the next 3 weeks. We'll see if they put up with it for that long...


I hope everyone out there is having a wonderful holiday season!


Thursday, December 19, 2013

abandon ship!

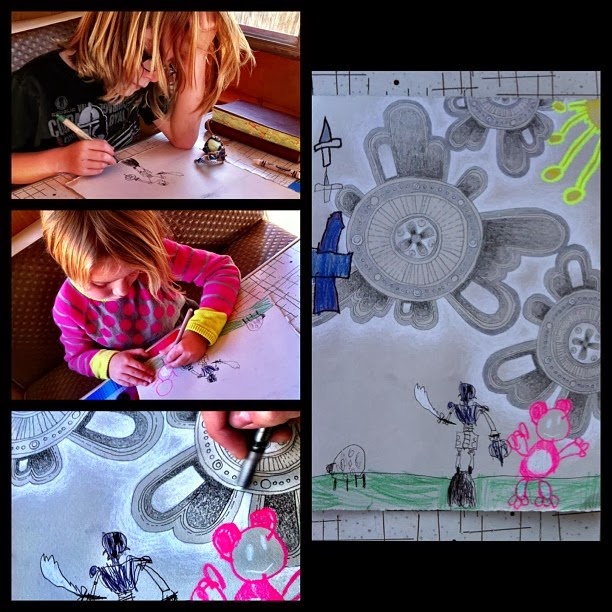
There are times when a lesson, despite careful planning, just doesn't work and you suck it up and go with something else that addresses similar concepts and skills.

I'll post about that project soon, but I thought I would share what I switched to with the 4th graders this week because many more of the students are achieving visual success and comprehension with it.

After the first project failed, I turned to a point of view project that I had pinned from Mrs. Knight over in Georgia. She did a great project with her 3rd graders that I thought I could springboard from.

I shared her images from Ansel Adams and discussed point of view with the students. How the same thing looks different from different distances or angles. I remind them that the concept is similar to point of view in reading and writing. They need to identify the author's point of view and when they write they are doing it from a certain perspective, too.

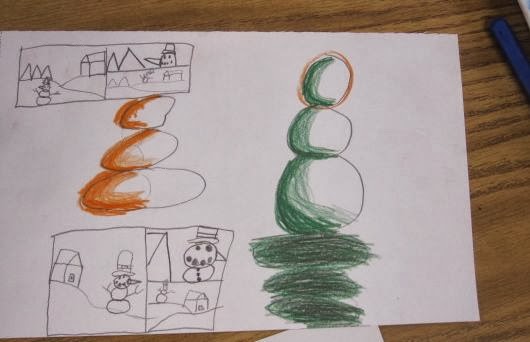
I also share the image below.
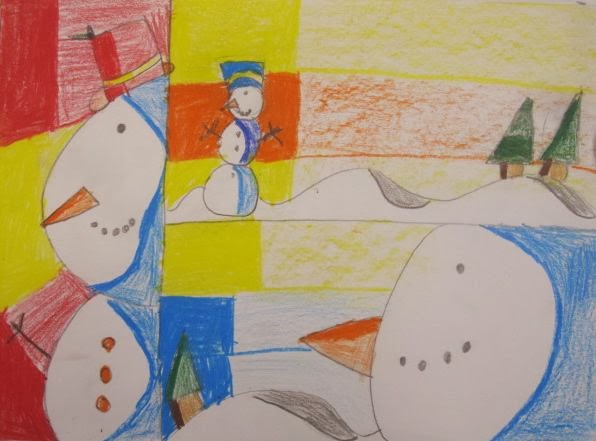
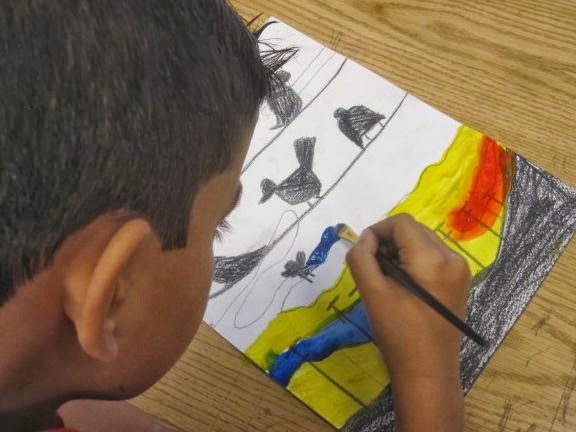
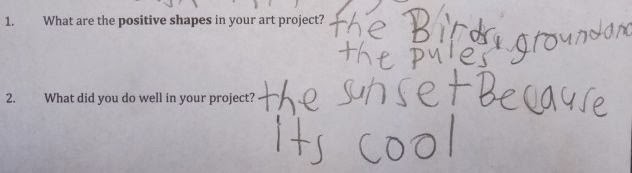
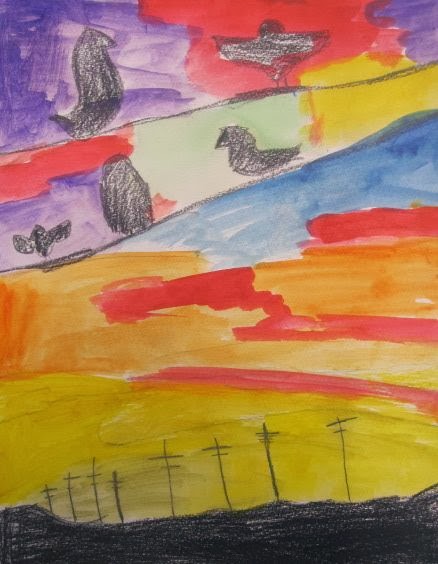
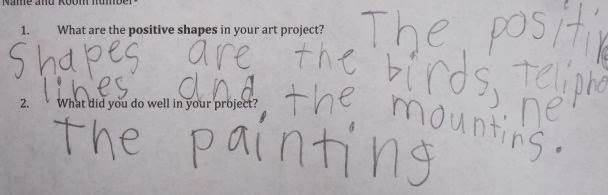
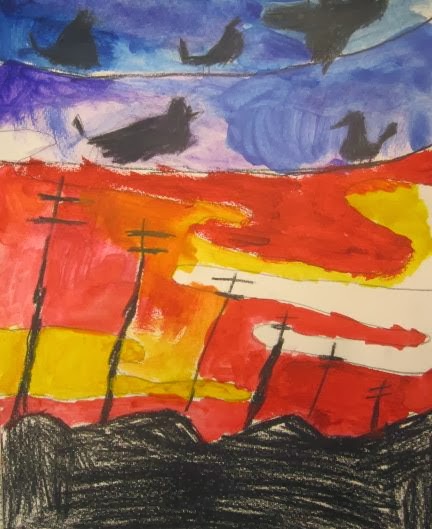
With this image I also stress the relationship of positive and negative shapes in art. This concept was introduced in the previous project we did together 4 weeks ago.

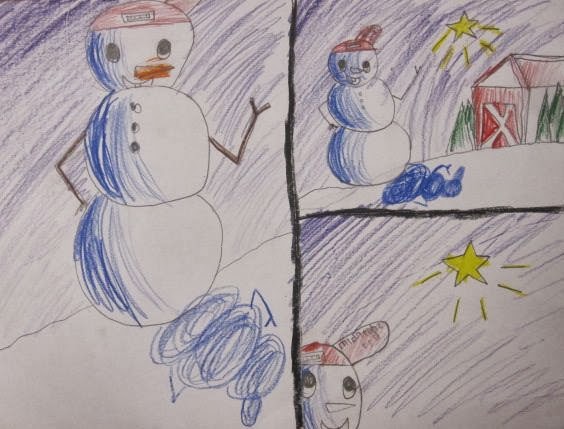
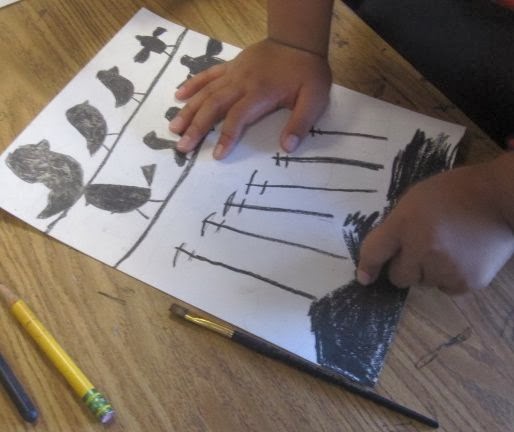
I then share some of Mrs. Knight's 3rd grade projects. We identify the positive and negative shapes, and we look at the different points of view students created. I then ask them if the snowmen look 3d or flat? They do look pretty flat, and I tell the students that this is where their projects will look different than the examples. 

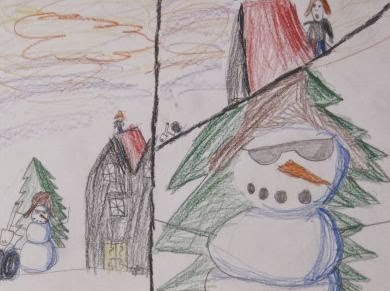
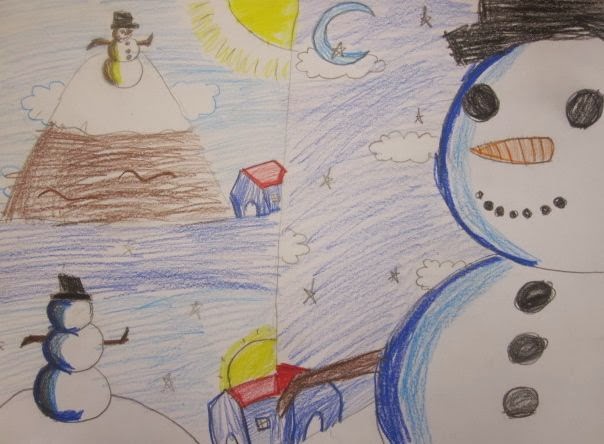
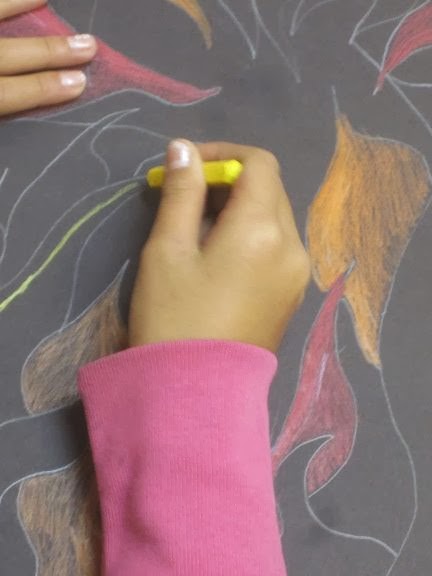
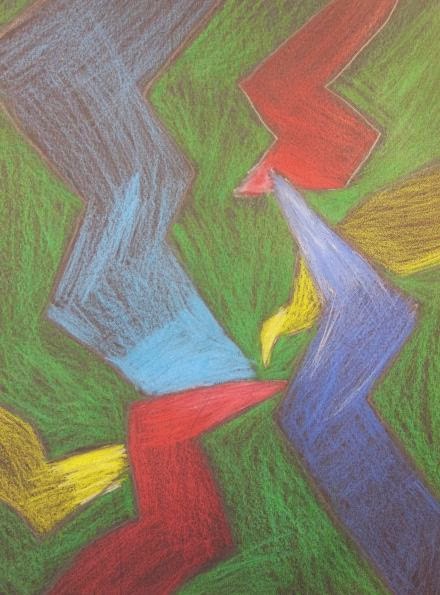
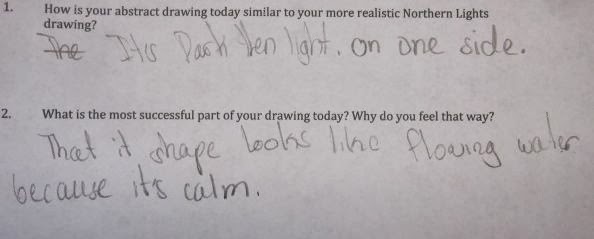
Our goal for the lesson is to create an image with 3 different points of view AND to have things in each point of view look 3d. The 4th graders have done a little bit of implied volume this year, but now we are going to start focusing on it in a few projects. I emphasize the use of light and shadow to make things look more real and 3d. I share with them examples of the process and product that I have done and then we are on our way.

1. practice shading
2. practice point of view concepts
3. draw final composition on larger paper
4. add color and shadows to each scene
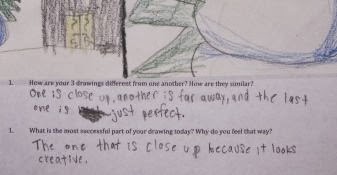
5. complete project exit slip


a few more super cool abstractions:)

Here are some more of the 3d abstractions 5th graders did last week when we looked at the work of Filipino artist Hernando Ocampo.

Enjoy!


Wednesday, December 11, 2013

3d abstractions.

Just because an artwork is abstract in style, doesn't mean it has to look flat.

One of the 5th grade art standards is identifying different styles in art. At the beginning of this lesson we reviewed how students made 3d space and 3d shapes in their Northern Lights drawing last week. I posed 2 questions, had students pair share, and then students volunteered answers (perspective & tinting and shading).

Then we worked through what makes abstract art abstract- the artist changes things from reality, it could be through any of the art elements. We identified examples of both realism and abstraction in posters around my room.

I then shared a few images from Filipino artist Hernando Ocampo, who passed away in 1978. With the inclusion of this fact, some students expressed disappointment because we wouldn't get to hear back from him:)

In the abstract paintings I shared, I pointed out how he still made parts look 3d by using light and dark colors. I also pointed out how Hernando made certain parts stand out by using more intense coloring in those areas.


I asked students to create an abstract design that repeated a shape at least 7 times- varying the size and direction of the shape. They then used crayola color sticks to make the shapes have 3d volume by using tints and shades.

Before doing their final design, students made at least 2 rough draft compositions on the back of their paper. When they finished these sketches, they were to share in pairs, tris, or quads and explain why they were picking one design over the others. I then had a couple students from each class share their reasoning with the class.


I love the variety in visual responses to the creative problem I set forth for them. When they finished their drawing, students completed an exit slip that asked 2 questions- How this abstract drawing was similar to the more realistic one from last week? What was the most successful part of their project and why? (5W10)


Tuesday, December 10, 2013

sunset skies.

We have been having some incredible sunsets in San Diego as of late. I decided to do a painting project with the 2nd graders this week that celebrated these wonderful visual treats...

while addressing positive and negative shapes and 3d space, of course:)

We reviewed how we created 3d space and volume in our drawings from last week and then I shared a painting done by Patty Baker.


We identified the different parts or things in the painting and talked about how Patty made 3d space by using big shapes up close and small ones far away. I then shared the concepts of positive and negative shapes with them.

Then we got working. Bumpy line for the ground, tall to small telephone poles, wires, and birds. WHen we drew the birds I showed them a few ways to do them from different angles. Students choose where they wanted each bird to go. We then filled in the ground and birds with black and traced the lines.

We used cake temperas to add color to the sunset sky. Students could use any of the warm or color colors. I emphasized that if their birds disappeared because a color was too dark, to add more water to that area and spread  the color out to bring the bird back.


When their painting was done, they completed an exit slip that asked students to identify the positive shapes in the painting and to tell me something they were successful with in the project. (2W8 and 2W10)