Thursday, December 11, 2014

I can't help myself;)

I just need to put the 4th grade collaborative snowflakes together! We will be having winter performances in the auditorium next week and I think a few different arrangements of them will look great as a backdrop:)

I'll have a few students help me assemble them before the performances next week. I think there will be enough for 3 larger groupings- around 5 feet in diameter.

I have been varying the size of the collaborative groups and the size of the black squares to give the larger groupings some more visual variety. Some squares are 9x9 for 2 people, some are 12x12, and some are 15x15" for 4 people.


Tuesday, December 9, 2014

symmetrical snowflakes.

The winter scene drawings that the 4th graders did were completed about halfway through their 2nd lesson during their shape rotation with me. I took the remainder of the class time to introduce radial symmetry, origami folding, and collaborative work.

I got this idea from H. Mazzuto over at Art. Paper. Scissors. Glue! They shared some wonderful examples and a great how- to post for the process. The only thing I've changed is the color scheme and the collaborative aspect of the project.

I give each student 4 small squares of white paper, so that they can practice each of the folds. After this they work in quartets and fold more paper and create their radial symmetry design. How they split up the work is up to them. For example, they can each be responsible for a different type of fold or they can each be responsible for a different color. I emphasize that if a student has a  good handle on one of the folds and a classmate is struggling with that same thing, be like a teacher and work with that student, so they get it.

Once all their folding is done, they plan and assemble the pieces on a larger black square. They then lock stuff down with their glue sticks.

The kids have had a blast with this one. Even though the vocabulary of shapes is limited to 4, there has been quite a lot of variety in the finished designs.


playing in the snow (and learning about proportion).

This week the 4th graders are finishing up winter scenes that they started last week. In this project, they are focusing on creating 3d solids and getting an understanding of proportion in nature and in art.

I started the lesson by sharing a couple diagrams of bodies and we looked at how parts measured up to each other and the whole body too. Then we drew a practice body (mannequin style) to get a feel for how to measure these parts and put them together. We also drew a target. Both drawings were then shaded to turn them into 3d solids. We then added a a couple details to the target to make it seem like we were looking at it from above.


I then shared a few illustrations of people making snow angels. I made sure to point out the use of shading and how things looked different than usual if your point of view gets changed.


Their job, then, was to create a winter scene that included a body making a snow angel, a snowperson, and at least 2 other setting details. Each thing in the drawing needed to be shaded or colored light to dark, to make them seem 3d.


Last year as 3rd graders, these kids made lego self portraits and they had to use light and dark to make them look 3d. I allowed students to use mini-figs as their subject as long as they still could demonstrate an understanding of proportion verbally and on their exit slips.

Tuesday, December 2, 2014

overlapping with Sanna.

This week the 1st graders are focusing on shape. I'm using a print by Sanna Annukka and we are looking at how she uses geometric shapes to make a landscape and how she overlaps some of those shapes to create a sense of front and back.

Sanna's textile designs and prints are just downright delightful. I love the way she uses pattern, shape, and color in her work! Such a great Scandinavian and mid-century flavor to her work.


Since Sanna is a printmaker, I thought this project would be a perfect introduction to relief printing for my 1st graders. They tried it in kinder, too, but it's still pretty new to them and the look on their faces when the print gets peeled off the styrofoam plate is pretty special:)


my favorite response:)

Monday, December 1, 2014

recharged and thankful.

Back in the saddle once more for the 3 week push to winter break!

But before any more posting about the great work our Zamo kids are doing, I thought I would take a moment to give thanks...

For the family that I am so fortunate to have.
For the friends that I am surrounded by and supported by.
For the colleagues and administration that support the art program we have created at school.
For the colleagues that I have met through blogging and all their wisdom that they have shared with me and others.
For being healthy.
For living in a place that has so much variety to offer- beaches, mountains, forests, deserts.
For working at a place I love and in a career that is so fulfilling to me.

Over Thanksgiving break my family and another took 5 days and camped in Joshua Tree National Park. We love it there so much. Great climbing, scrambling, and exploring. We took our little trailer Cecil and our friends brought their little pop-up Pepe and we had a wonderful time out there. We have been out there several times now and there is always something new to explore. Below are a some photos from the trip:)
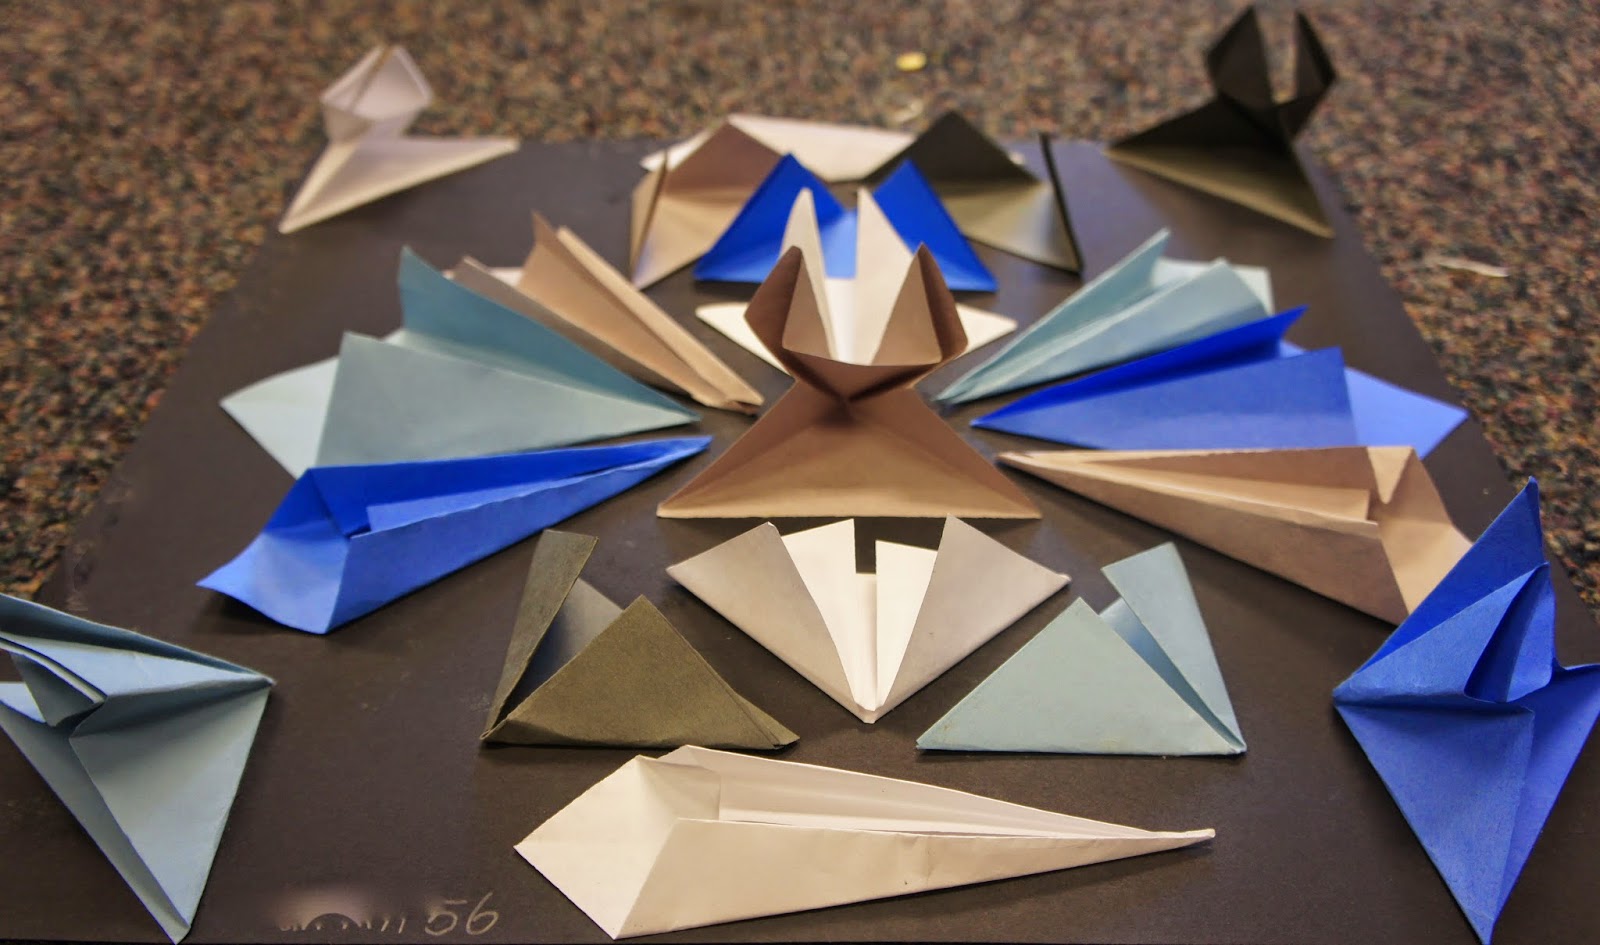
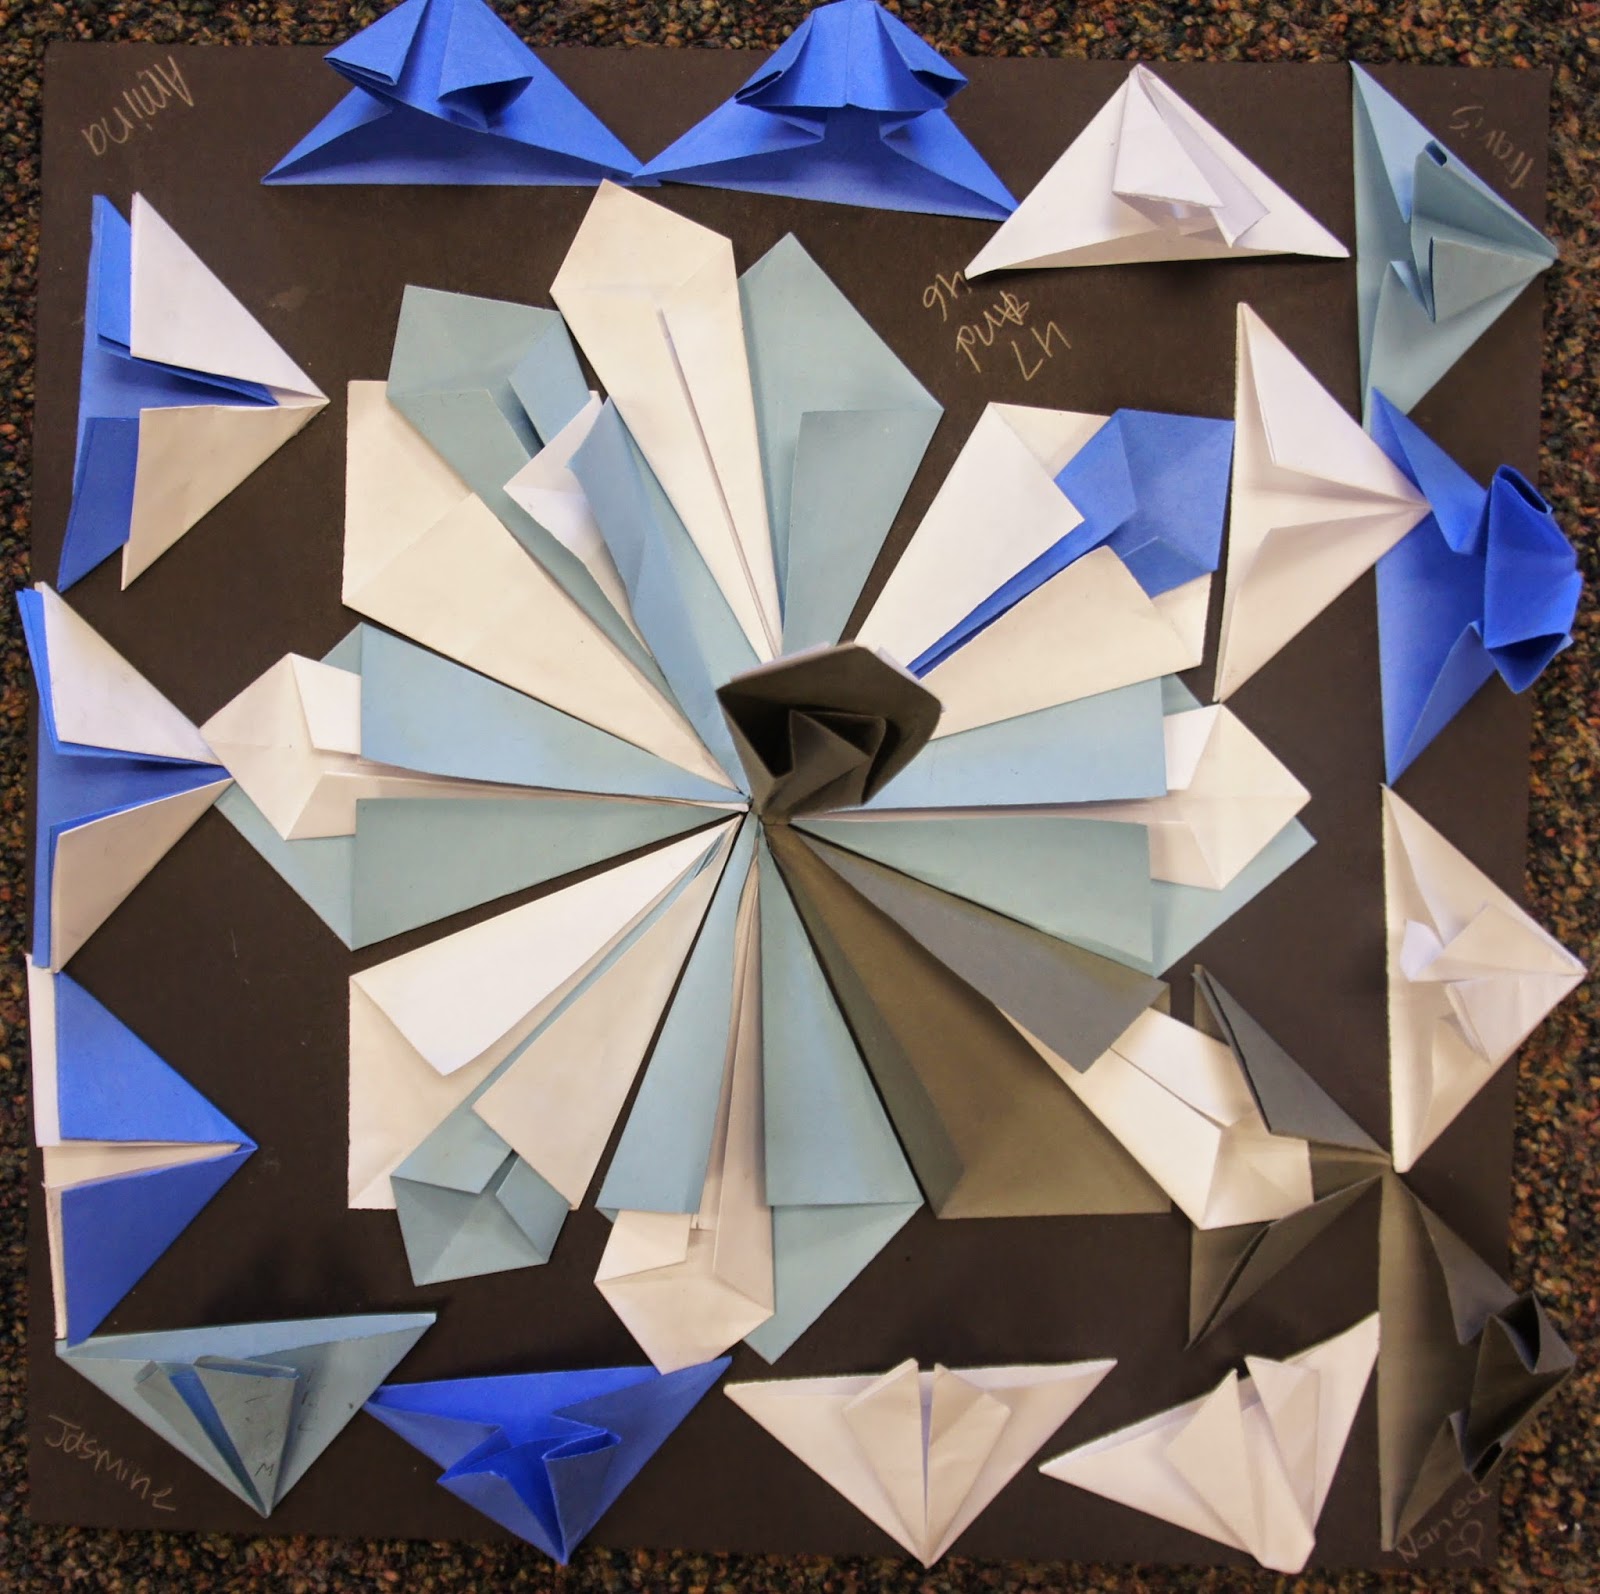
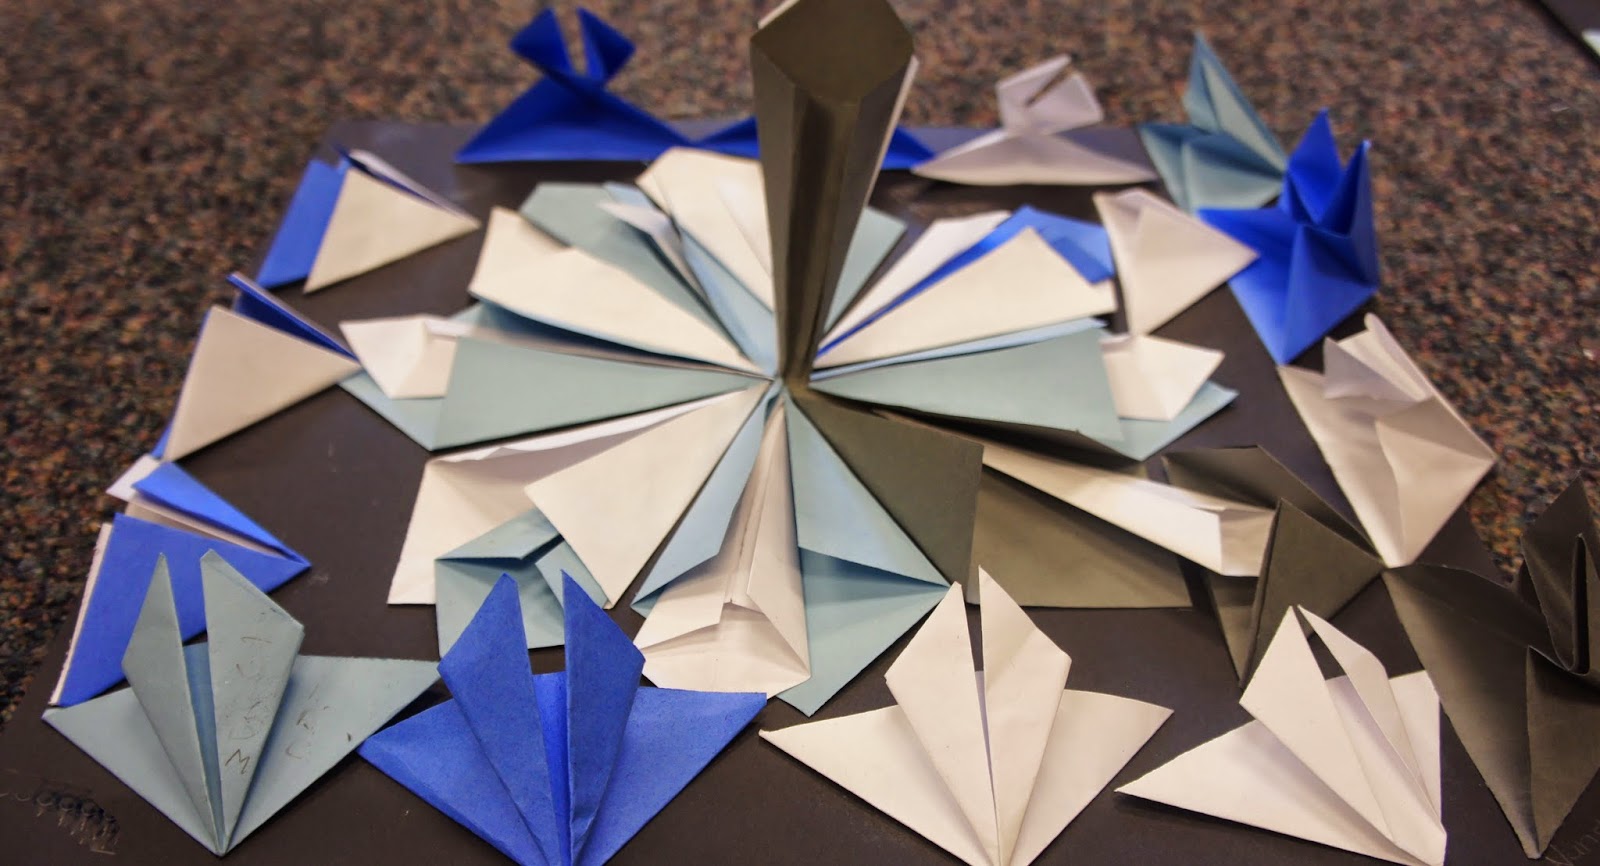
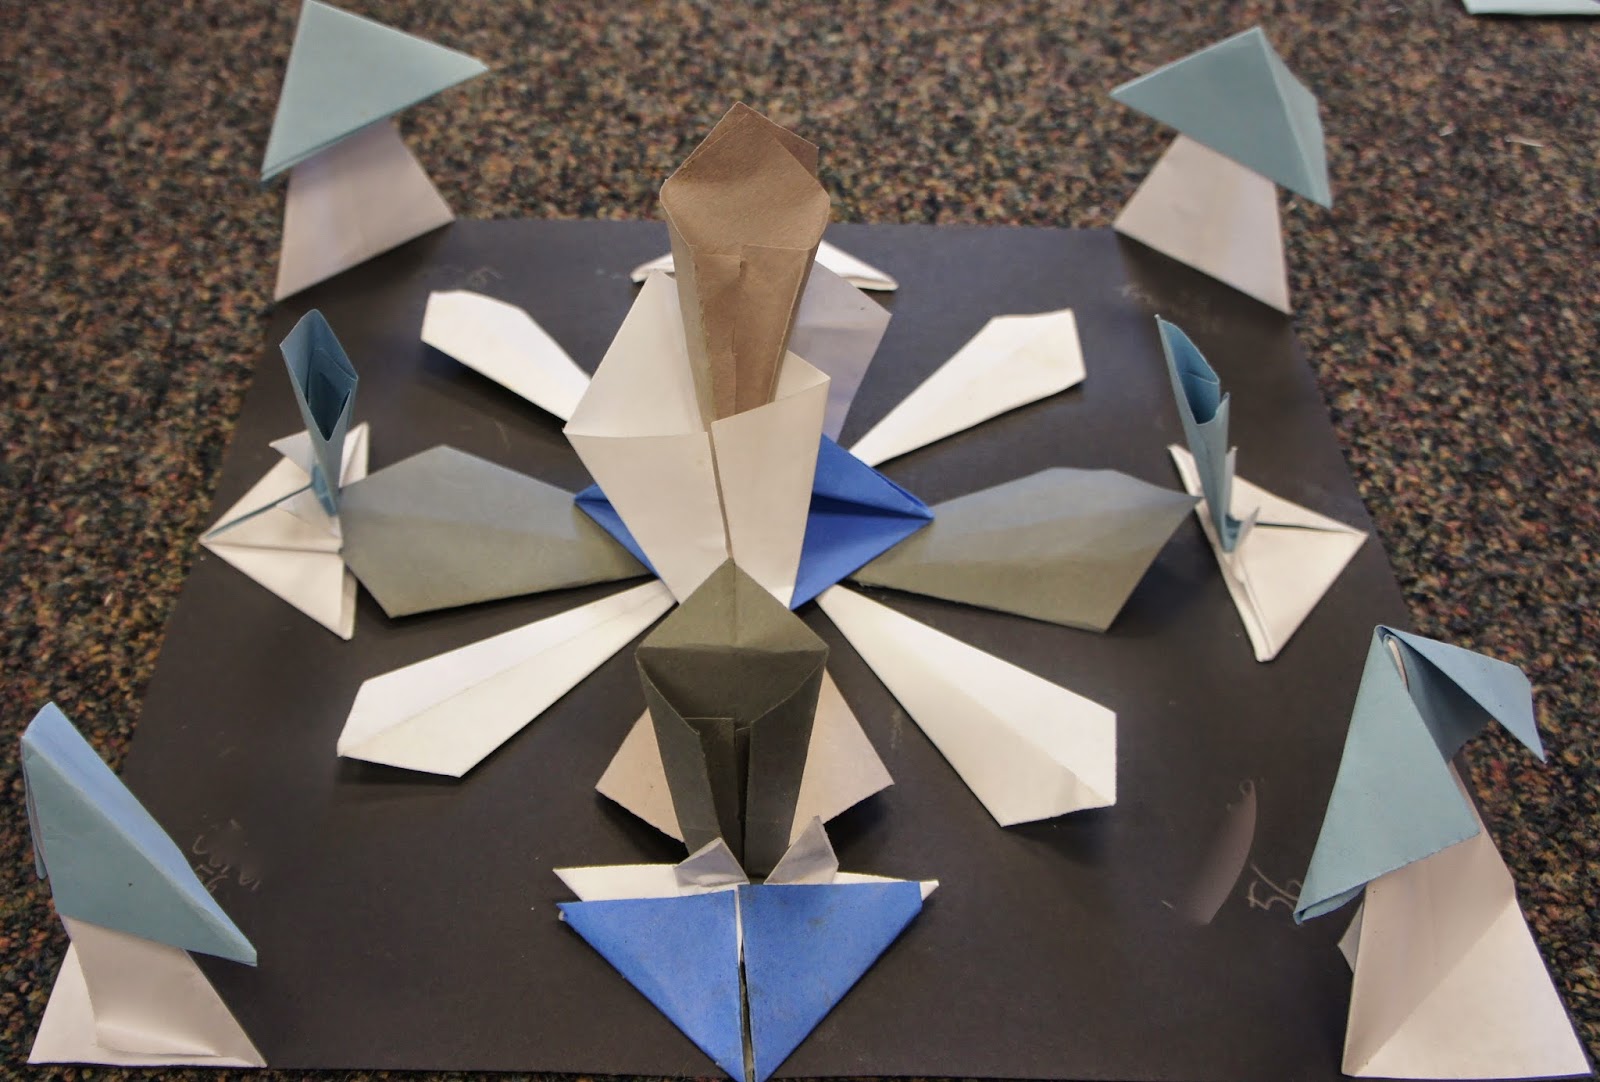

 symmetry in Cecil.

 sunrise in the park.

 boys exploring.

 Cecil and Joshua tree.

 the girl drawing with charcoal from the campfire.

 one of the drawings I did.

 tree and sun on our way back from the Hall of Horrors.

near sunset.